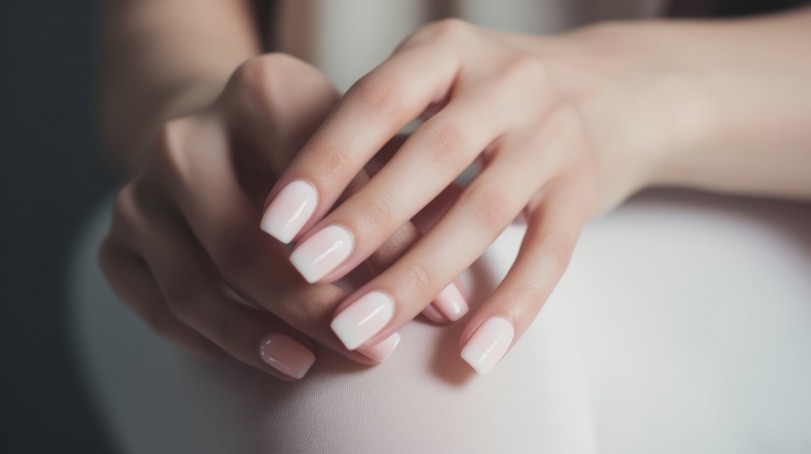
The milk nails trend has been gaining popularity on TikTok for quite some time now. It's an ideal choice for those who appreciate the clean girl aesthetic, offering a refreshing change from the typical nude and French-tip styles.
The beauty of this trend lies in its simplicity, resembling the appearance of milk on your fingertips -- translucent and somewhat creamy.These minimalist and straightforward nails are versatile, complementing any outfit without being dull. To spice up this viral nail style, here are three ways to achieve it.
Whether you go for the timeless milky white nails, experiment with the lively milk ombre nails, or add a creative touch with mix and match milky nails with designs, embracing this trendy style is both uncomplicated and gratifying.
1. Milky White Nails

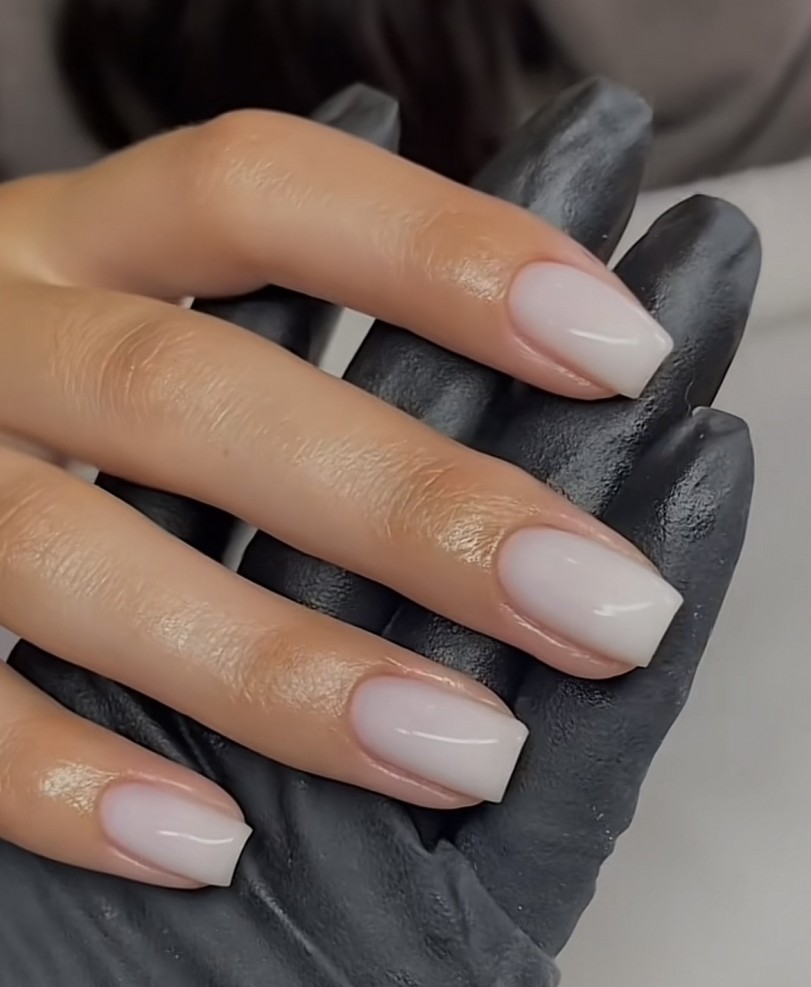
The first way to achieve the trendy milk nails is with the classic milky white nails. This understated neutral manicure effortlessly complements any outfit and gives you that clean, minimalist look.
To achieve a stylish and durable nail finish, this helpful tutorial by Samantha Haste on TikTok can be your guide. First, begin by applying a base coat and allowing it to cure. Following this, add a thin layer of gel, such as construction gel, and let it cure for a lasting effect.
If you wish, you can employ the slip and bead method, where you apply a thin layer before placing a bead of gel on the nail. This technique helps ensure a smooth application. Refine the edges as needed.
Lastly, cure the nails to set the gel and complete the process. This straightforward approach will leave you with well-groomed and long-lasting nails.
2. Milk Ombre Nails

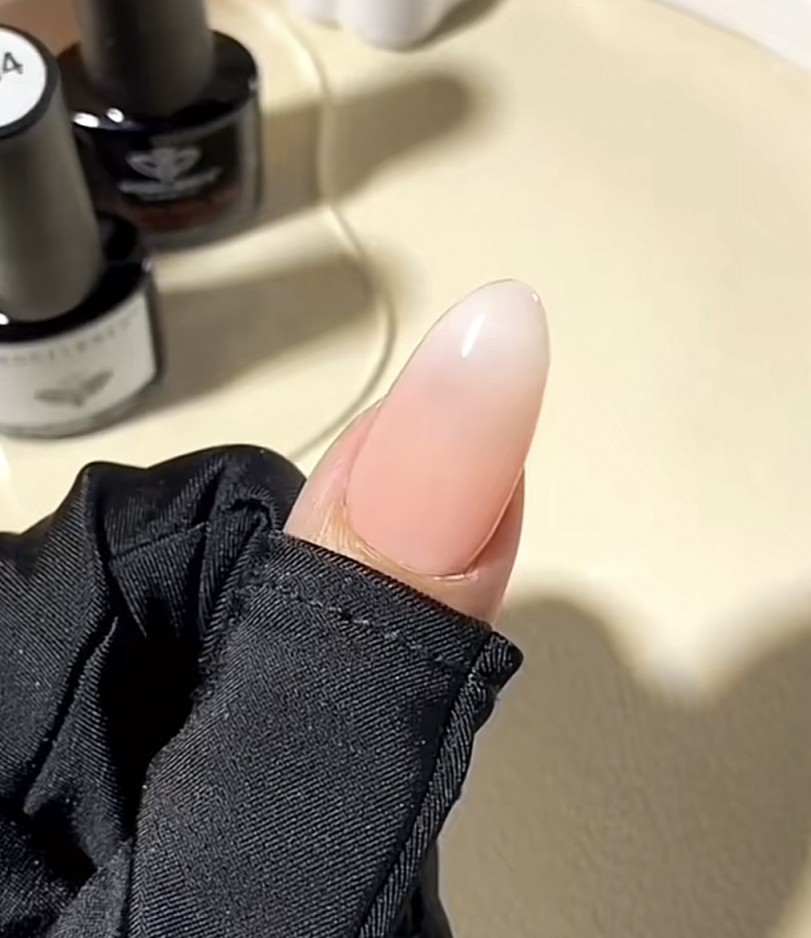
If you find plain milk nails too simple for your taste, try the milk ombre nails for a more customized yet natural look. This trend allows for various renditions, including strawberry milk nails or blueberry milk nails. The options are endless, and you can choose a hue that suits your style.
To create the milk ombre effect, Modelones Official on TikTok provides the following steps: begin by applying a thin layer of white gel to the tip of your nail and cure it. Next, add another thin white coat to your fingertips and blend it upward to the middle part of your nail using a brush. Depending on your color preference, apply a thin coat of pastel pink or blue near the cuticle or on the lunula part of your nail. Follow this with another layer of thick gel in the same color, blending it toward the fingertips to create a seamless ombre transition. Cure the nails before applying the top coat to finish the process.
3. Mix and Match Milky Nails with Designs

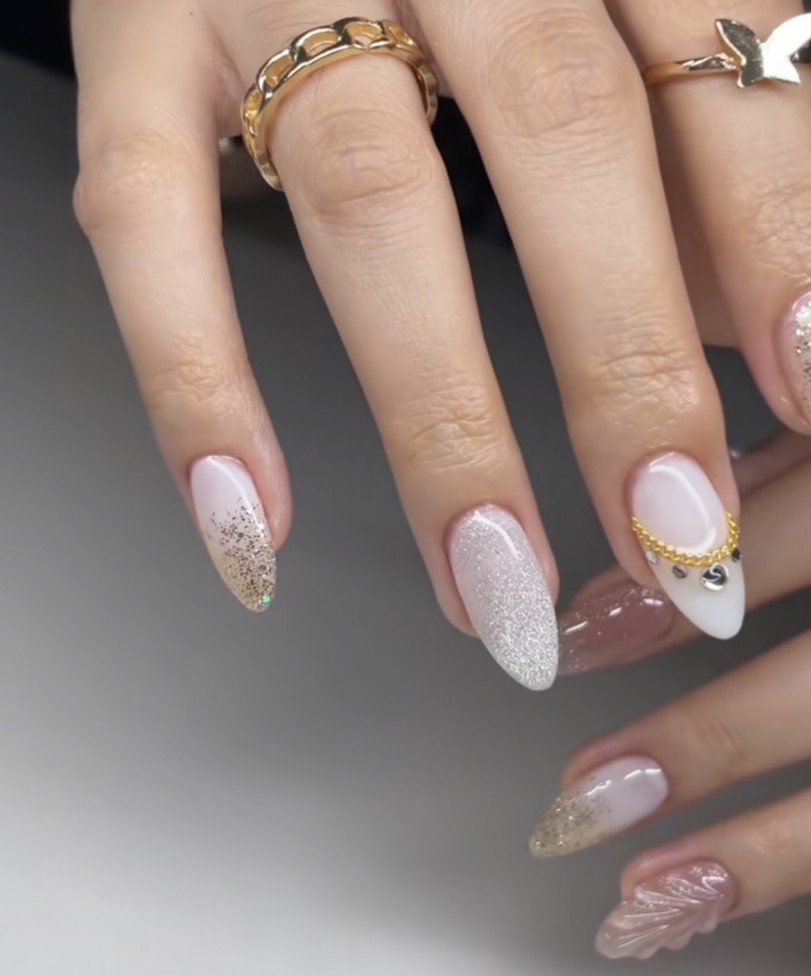
For those who love nail art, the mix and match milky nails with designs is the way to go. The milk nails serve as a canvas for creativity, allowing you to incorporate various designs. Whether it's crystal studs, sequins, glitters, or gems, the milky base provides an elegant backdrop for your artistic expressions. Follow the construction gel tutorial and add your desired designs before curing the nails for a stunning and unique look.

